![]()
Woodworking has been a staple of human creativity for centuries, and coloring these wooden masterpieces has been part of the process for just as long. As a skilled woodworker, my role is to deliver the precise aesthetic my clients envision, which can sometimes be quite the challenge. For instance, a client once requested that her quarter-sawn white oak bathroom vanity be tinted with the rich shade of cranberry juice. Surprisingly, the result was stunning.
There are several approaches to coloring wood. Personally, I believe that painting fine furniture diminishes its natural beauty. Paint covers the unique grain patterns with a monotonous layer. Pigment stains are another option, particularly effective on open-grain woods like oak, ash, or elm. These stains are ideal for such species, but they don’t perform as well on closed-grain woods like maple, birch, or poplar, often resulting in uneven coloring. Additionally, pigment stains struggle with sapwood, where achieving a consistent color can be challenging.
So, aside from staining or painting, what other wood coloring methods are available? This is where dye comes into play, specifically formulated for wood.
The Many Advantages of Dye Over Pigment Stain
Dye designed for wood coloring offers several benefits over pigment stains. The range of colors available with dyes is extensive. For example, TransTint offers about 22 colors, and these can be mixed to create a virtually limitless palette.
The colors include traditional woodworking shades like walnut and cherry, as well as vibrant hues such as yellow, orange, pink, and even jet black. Ever wondered how electric guitars achieve their vibrant colors? The answer is dye. Another significant advantage of dye is that it can be applied to wood components before they are assembled, without affecting glue joints. This is especially useful for projects with intricate details that are difficult to reach once assembled, such as cubby shelves or carvings. Pigment stains can hinder strong glue joints as they seal the wood fibers.
Why do pigment stains seal the wood, while dye does not? It’s due to the oil or water suspension in which pigments are mixed, which seals the fibers. Pigment stains are made from ground minerals, essentially dirt, held together by a solvent. Compared to dye particles, pigment particles are thousands of times larger. This size difference allows dye to penetrate the wood fibers where pigments cannot, making dyes more suitable for close-grained wood.
How to Apply Dye on Wood
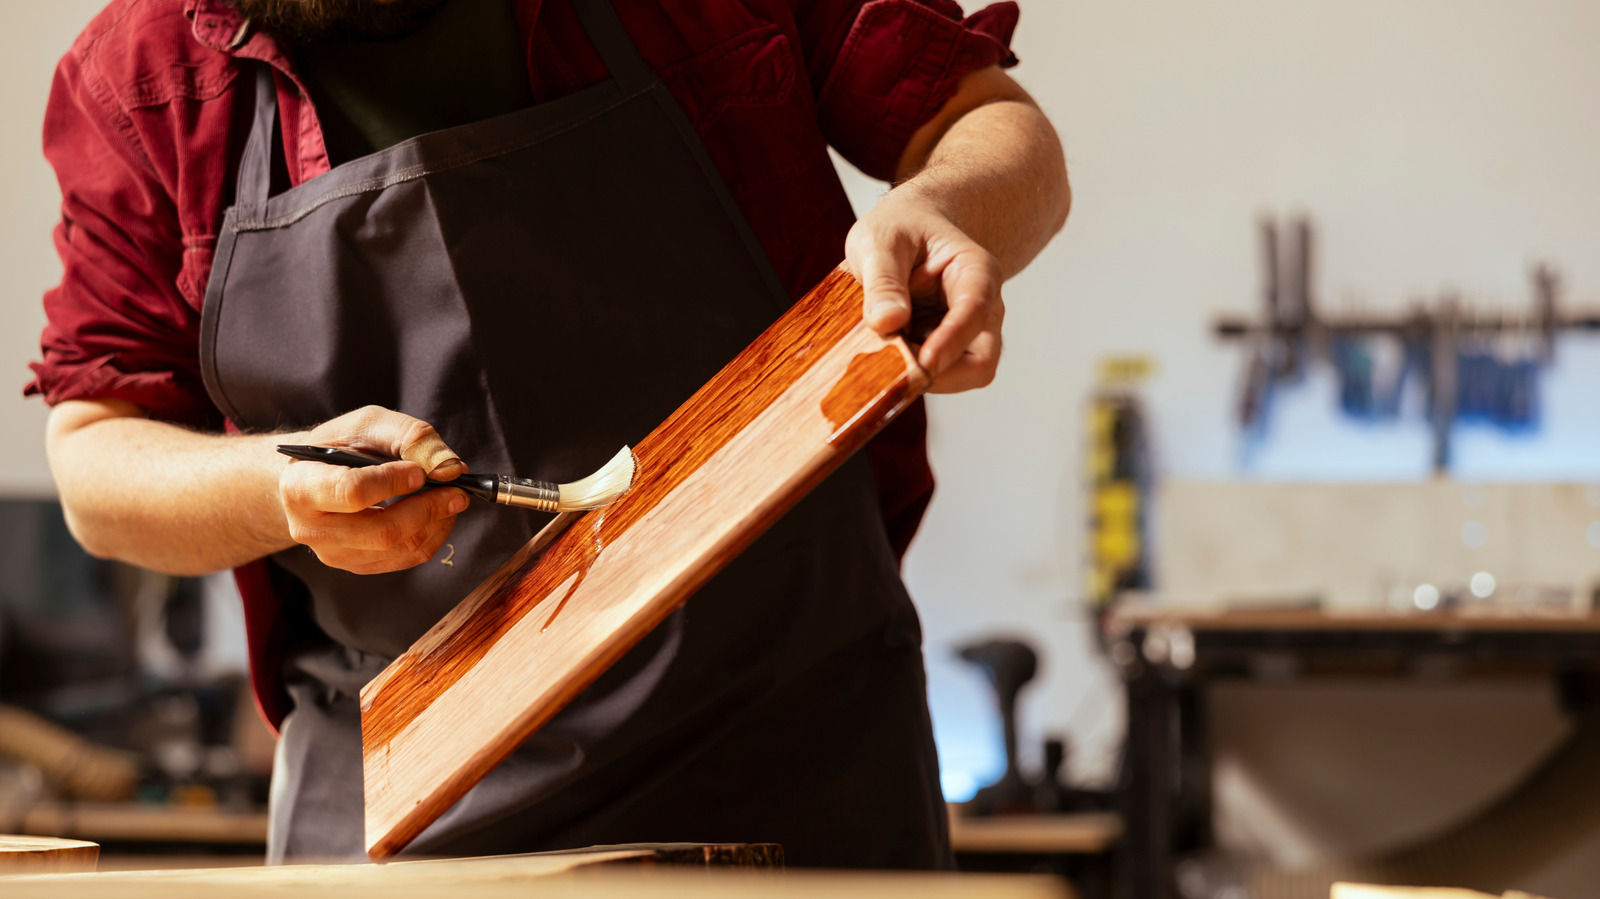
Many might assume that dyeing wood is complex, given its lesser-known status. However, it’s quite simple. As with any finishing process, preparing the wood surface is crucial—ensure it is clean and smoothly sanded to at least 220-grit, though finer is preferable. Then, mix your dye solution, available in liquid or powder form, with either alcohol or water. I prefer water, as it dries more slowly and is readily available.
Be sure to wear gloves, as dye is highly effective at staining skin and can take about a week to fade. Adjust the dye concentration to achieve the desired color, testing on scrap wood first. Before applying the dye, dampen the wood with a wet cloth to raise the grain, then smooth it with an abrasive pad.
Apply the dye solution generously with a clean cloth, allow it to sit briefly, then wipe off the excess and let it dry. If the color isn’t intense enough, add more dye to the solution and reapply. The color will stabilize, ensuring consistent results across multiple pieces. The wet color is a good indicator of how it will look with a clear finish, so don’t worry if it appears dull when dry.
Sealing Your Dye-Colored Wood
Allow the wood to dry thoroughly, preferably overnight. The dye and water mixture will raise the wood grain again, so gently smooth it with a synthetic abrasive pad before applying a clear finish.
A word of caution: if you used alcohol to dilute the dye, avoid shellac as a first seal coat, as it may lift the color. Lacquer, polyurethane, linseed oil, and shellac (if not the first coat) are all excellent choices that can enhance the dyed wood’s appearance. Apply multiple coats for a robust protective layer.
A few additional tips: since you’re creating a unique dye solution, ensure you have enough to complete the entire project, as replicating the exact formula may be challenging. Carefully measure the dye-to-water ratio for consistency. Fortunately, you can store the mixture in a sealed container for future use. Interestingly, dye can also be used to add color to shellac and epoxy resin, a popular trend. Overall, using dye to color wood is an invaluable technique, enriching your woodworking repertoire.


