![]()
Garage floors are often overlooked, yet maintaining them is crucial for your home. While a neglected garage door might affect your home’s resale value, it’s futile to upgrade it if the floor behind it is in poor condition. Revitalizing a worn and cracked floor is one of the best improvements for your garage. Thanks to modern finishing technology, you can DIY the job and achieve a fresh, speckled finish that looks professionally done.
One important decision is choosing the right product for your garage floor upgrade. Epoxy floor coatings, as demonstrated in an informative video by @studio_adash, are very popular. They are durable, affordable, and DIY-friendly. Available in various colors, they can be plain or include decorative chips, with an option for anti-skid additives. Following the video’s suggestions, let’s explore the process of rejuvenating your tired garage floor in detail.
Preparing to Upgrade a Garage Floor with Epoxy Coating
There are numerous reasons to upgrade your garage floor, with many DIY epoxy coating kits available. To ensure durability and prevent future issues, follow the manufacturer’s instructions carefully. Check the coverage, as this affects the overall cost. Rust-Oleum EpoxyShield, for instance, has received positive reviews, with a 2-gallon kit covering 450 to 500 square feet for under $200, making it a competitive option.
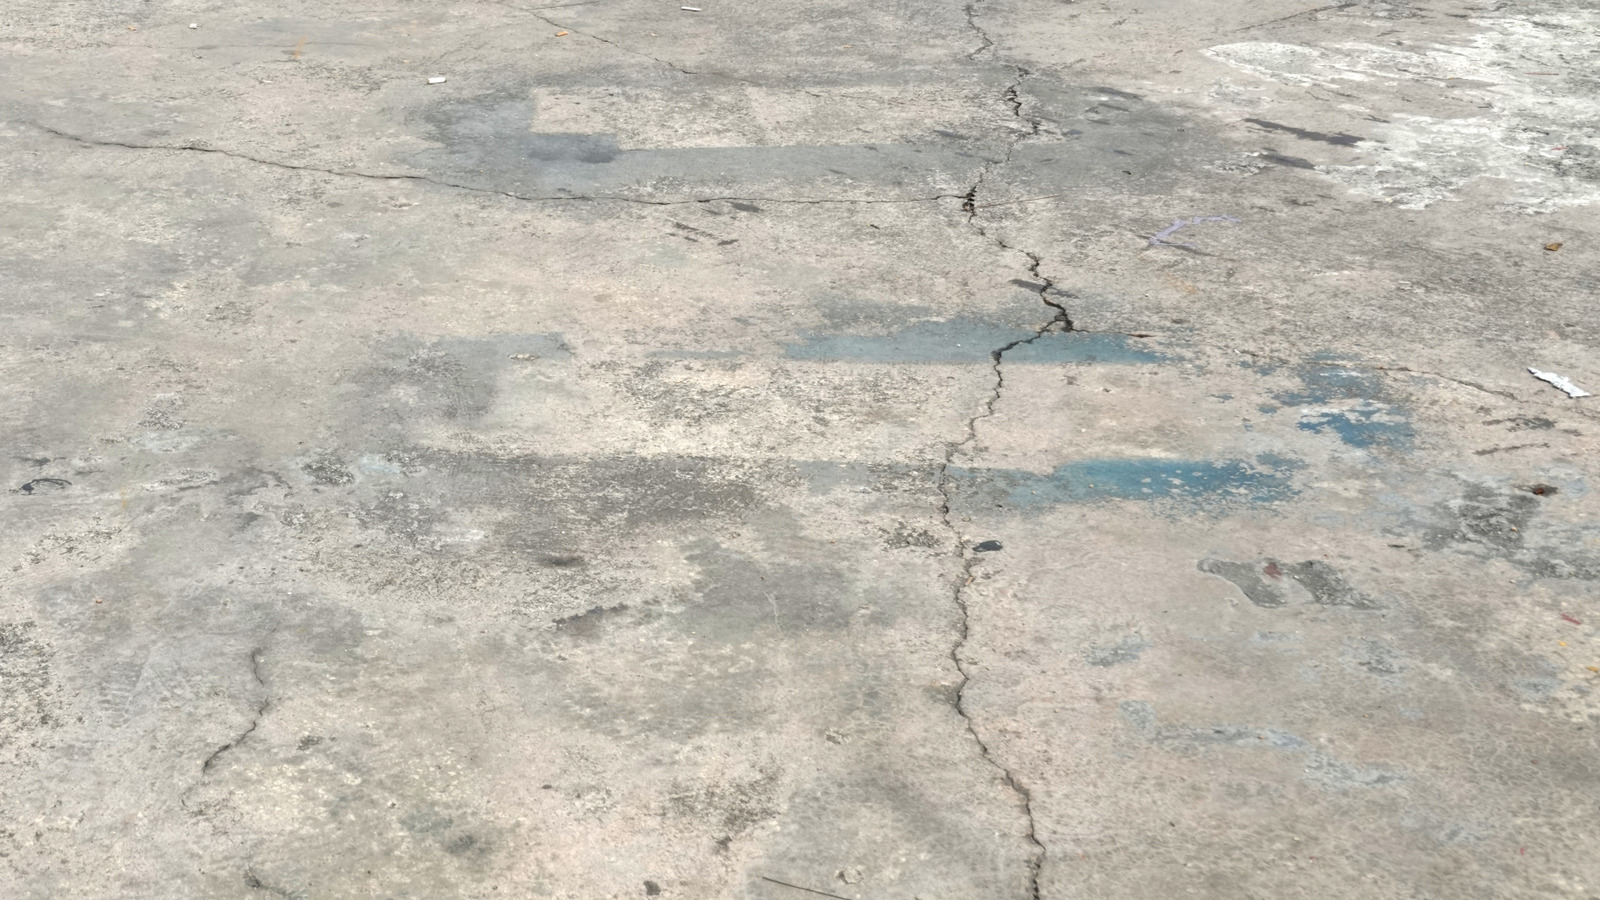
Although steps may vary, DIYing your garage floor usually follows a similar procedure. For bare concrete, start by thoroughly cleaning and degreasing it. Use a product specifically designed to remove oil and grease from concrete, as shown in the video with a steel brush. Next, fill any cracks or holes with available concrete patch products, some ready-to-use. Depending on the epoxy finish, you may need to etch (as shown in the video) or prime the surface.
If your garage floor is painted or tiled, check product suitability before purchase. Some require grinding off the existing surface, while others can be applied with a primer. It’s generally advisable to use a primer from the same brand as the epoxy to avoid adhesion or compatibility issues.
Applying Epoxy Coating to Your Garage Floor
Most garage epoxy kits come in two parts to be mixed before use. Following the manufacturer’s instructions is crucial at this stage. Once the mixture is ready, pour it into a paint tray and begin the application.
The video creators start by trimming the garage with a paintbrush for tight areas, then use a long-handled roller for most of the floor due to its speed and ease. Speed is essential as epoxy has a limited pot life once mixed. It’s usually recommended to work on manageable areas, like 4-foot by 4-foot sections, rather than coating the entire garage floor at once, especially if adding decorative flakes for the professional high-shine look demonstrated.
Some epoxy garage floor coatings require only one coat, while others suggest an additional top coat for durability, as seen with @studio_adash. Ensure the first coat dries completely before applying the top coat to avoid ruining the job. Typically, it takes a day or two before you can walk on the surface and three days to a week before driving on it. Whether your garage is for vehicles and storage or you’re planning to transform it into a fun and functional room, following these steps will ensure the floor is durable, attractive, and easy to maintain. The effort is well worth it.


