![]()
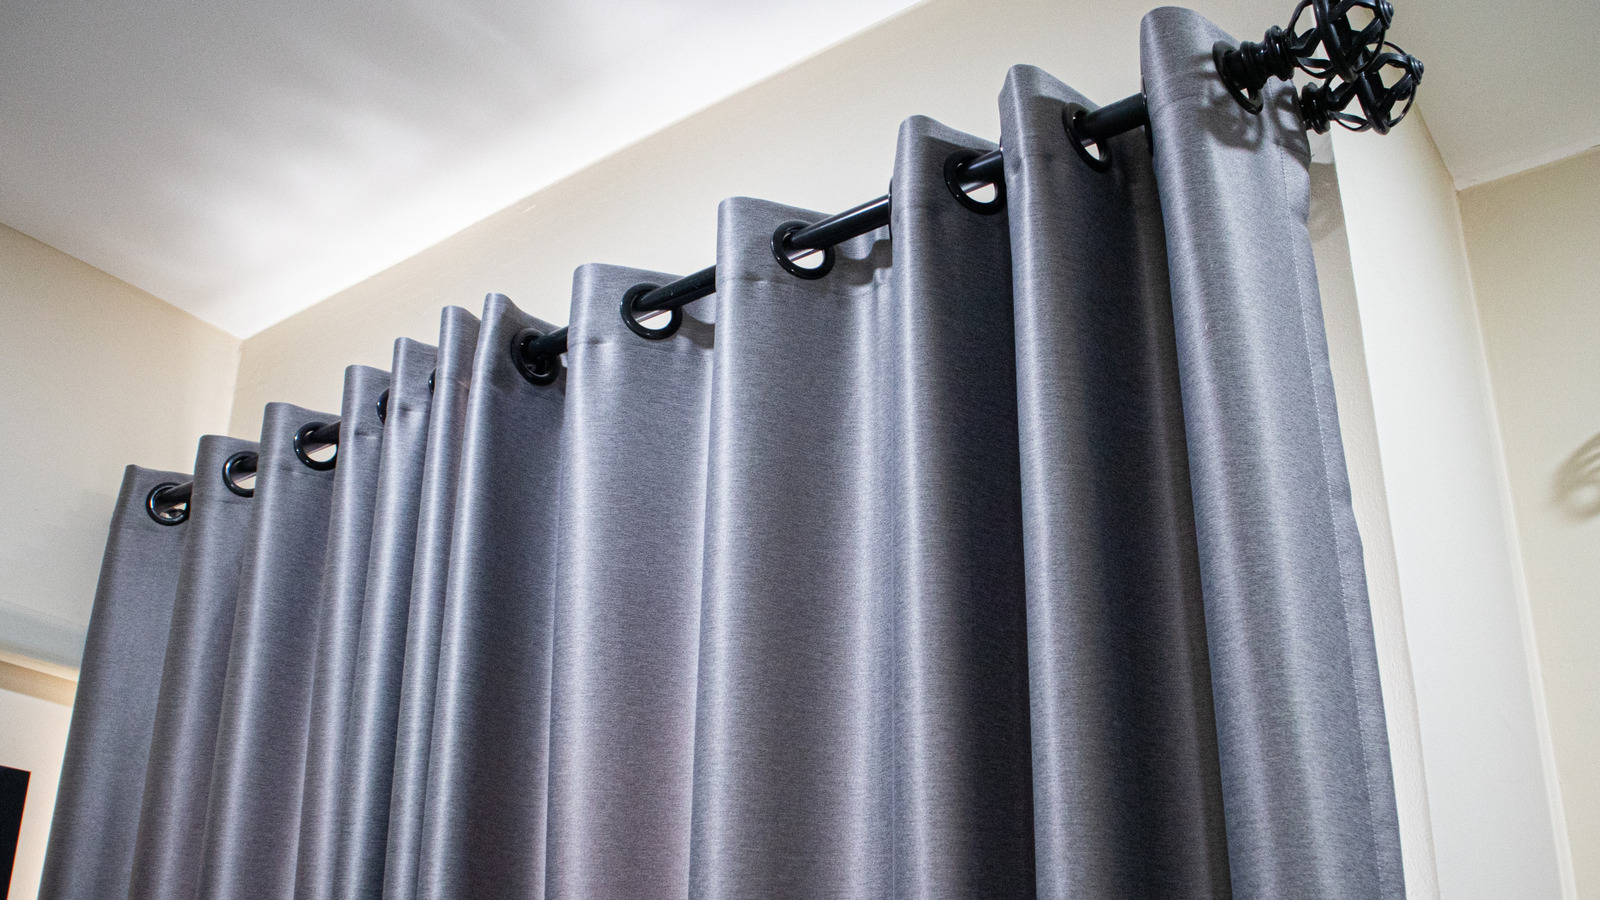
“Grommet” is a fun word to say, but using them isn’t always as enjoyable. Curtains with metal grommets can be difficult to open and close, as the rings often stick on curtain rods and create noise. Furthermore, this trend in home decor has become outdated. If you have a sewing machine and can sew a straight line, you can easily update grommet curtains.
Inspired by the creative YouTuber behind the channel Weekends with Winnie, we decided to share this simple upgrade, adding a few of our own touches. The fabric between the metal rings will be transformed into tabs sewn to the back of the curtains. These hidden tabs allow the curtains to glide smoothly along the rod and hang in consistent folds when open.
Even if this is your first sewing project, you can accomplish this seemingly daunting yet surprisingly simple curtain makeover. Gather scissors, a sewing machine, straight pins, and a spool of thread matching your curtain’s color. If removing the grommet strip makes your curtains too short, find coordinating fabric of similar weight and weave.
How to go from grommets to tabs
Begin by using scissors to remove the grommet panel from your curtains, cutting beneath the seam. The grommets can be repurposed in many ways, similar to old shower rings. To remove the grommets, hold the ring and gently pull the fabric layers until it pops out.
To create tabs, cut the sections between the holes, trimming the fabric closely to the hole edges to save as much material as possible, as you’ll need some width for hemming. Each cut should form a loop connected by the original hem.
For finishing the tab edges, open the loop, fold the cut edges inward, and pin them. Sew the pinned edges for a durable, fray-free seam. Repeat this process for each tab. Along the bottom hem of the curtains, pin the tabs at regular intervals along the hem’s stitching line. Sew the tabs along the original hem stitching. To make the upper part of the tab less visible, sew an additional seam along the fold, stitching over the tabs. Finish the curtain’s lower edge with a double fold hem about three to four inches wide. If adding fabric for length, sew on a strip matching the curtain’s width and hem as described.
Machine-free curtain makeover
You can achieve this curtain transformation without a machine! Substitute a sewing machine with a needle, thread, thimble, and peel-and-stick fusing tape like YONGJIN Double Sided Fabric Tape. This product is handy for hemming curtains without sewing. Follow the above directions, using tape instead of sewing where needed. If you trust the tape, you can avoid needle and thread by attaching the tabs with tape. However, for a longer-lasting hold, hand-stitch them with a thimble.
When attaching additional fabric for length, ensure a neat crease on the finished side of the fabrics after joining them. YONGJIN Double Sided Tape users say the bond lasts through washes, but there’s no information about its heat resistance from drying or ironing. To achieve a crisp crease without risking the adhesive with an iron, fold and iron a 1-inch crease on the cut edges of both the curtain and additional fabric before using the tape. Ensure the folds are toward the side of the curtain where the tabs are attached.
Apply the tape to the created folds, placing it as close to the crease as possible on each fabric piece. Hang your curtains, open and close them, and enjoy the silent swish instead of a metallic clatter.
“`


