![]()
Updating an outdated sink and vanity combo is an excellent way to rejuvenate your bathroom’s appearance. This task is fairly straightforward, requiring basic tools such as a razor blade, screwdriver, wrench or pliers, caulk, and an oscillating multi-tool or hole saw. After disconnecting the plumbing and detaching the cabinet from the wall, you just need a few people to help move it out to the curb.
Naturally, you’ll need a new vanity that fits into the space left by the old one. The condition of this space will affect the amount of additional work required. For instance, if your walls are in poor shape, you may need drywall and painting materials for repairs. Also, if your flooring doesn’t extend beneath the cabinets and the new vanity doesn’t cover the resulting gap, you’ll need to address the floor repair or replacement. Keep these factors in mind when selecting a new vanity to potentially save time and money.
To avoid these issues, consider reusing your existing vanity cabinet by simply replacing the top with a new countertop and sink. You can also paint the base cabinet or fabricate new cabinet doors for a fresh look. If you’re a seasoned DIY enthusiast, you might even build a new bathroom vanity on a budget. Otherwise, let’s begin from scratch.
Removing the Old Bathroom Vanity
Several elements can make your bathroom look outdated, and a worn vanity is one of them. To refresh the space, start by removing cabinet doors and drawers, and make sure to turn off the water before disconnecting the supply lines. Use a screwdriver to detach doors and hinges, and pliers or a wrench to disconnect the water supplies and P-trap. Keep a bowl and towel handy to catch any remaining water.
After clearing the area under the sink, locate the connection points between the counter and the cabinet. These are often secured with screws, which you’ll need to remove to separate the countertop from the cabinet. Use a razor blade to score the edges where the countertop, and possibly the backsplash and sidesplash, meet the wall. This will make it easier to remove the counter, which you can now proceed to do.
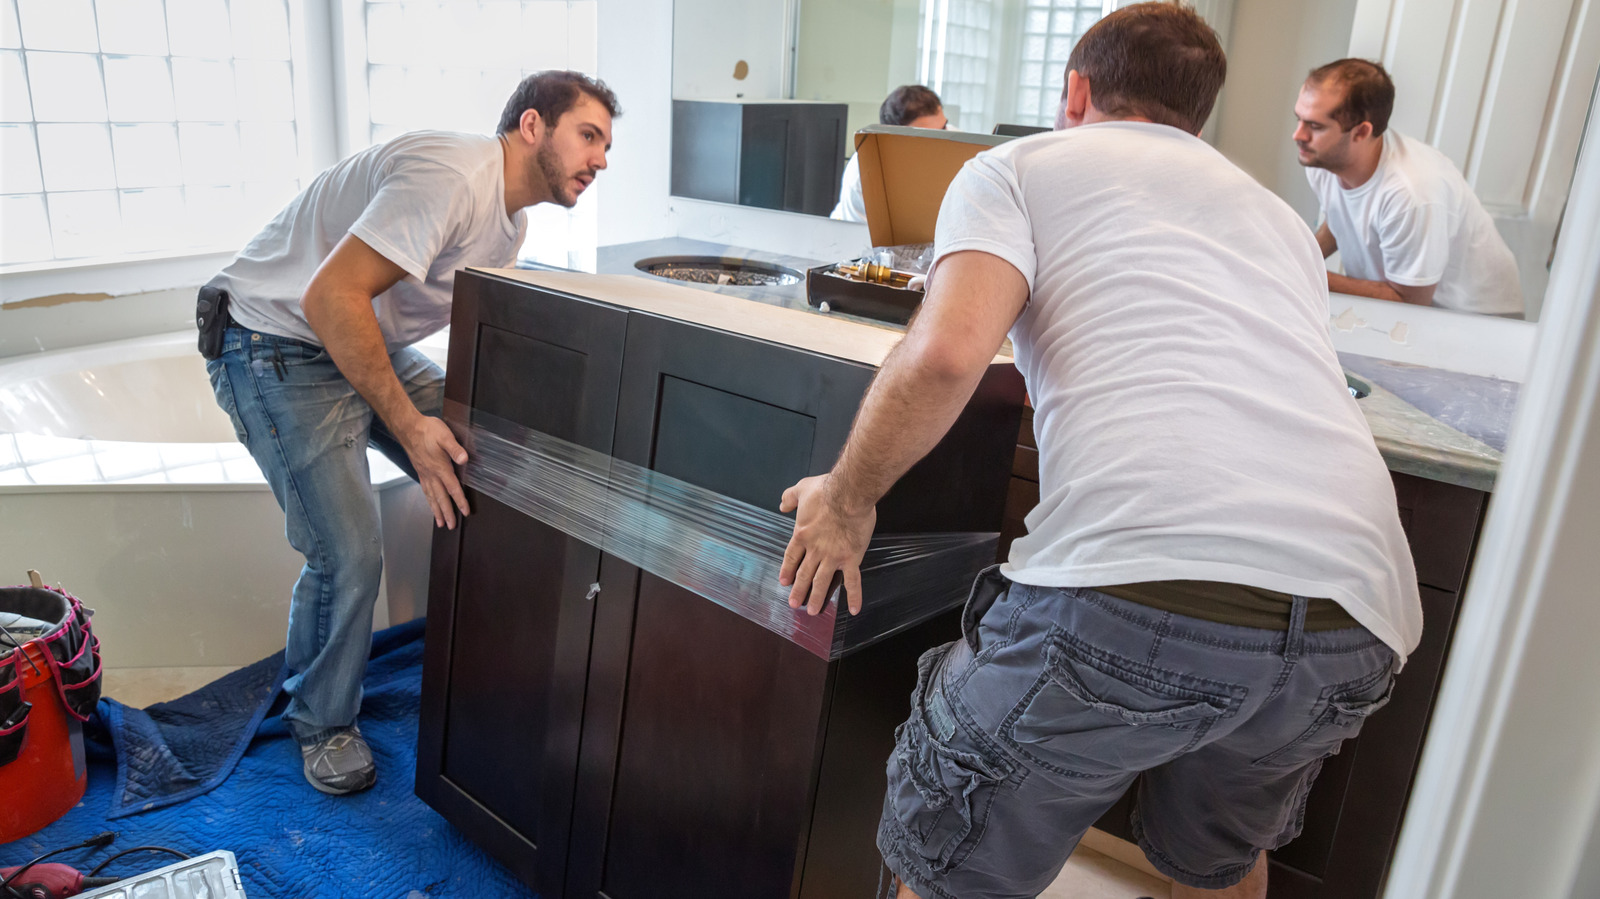
Removing the cabinet itself is simple. Be careful not to damage any water supply lines, and check for any screws or adhesive connecting it to the walls or floor. A hammer and pry bar may be useful for detaching the cabinet from the wall. To be cautious, enlarge the holes around your water lines. Once these tasks are completed, it’s all about using some muscle. Just lift and remove.
Replacing the Old Bathroom Vanity
If necessary, now is the time to replace flooring or repair drywall. Here’s how to determine if drywall needs repair or replacement. After completing these larger projects, it’s time to install your new vanity. Measure where the new vanity will be placed and where cuts for water lines and pipes need to be made. Even if some cabinets have pre-existing openings, they may not align with your house’s plumbing.
You might also need to notch out baseboards to fit the new cabinet, depending on your situation. An oscillating multi-tool can facilitate these cuts. If baseboard cutting isn’t required, use a hole saw to make plumbing holes in the cabinet. Once the cabinet is in place, level it with shims if needed, and secure it to the walls. Drilling pilot holes through the cabinet and into the studs before securing with screws can help avoid damaging the new cabinet.
Many vanities come with the countertop and sink already attached. If yours doesn’t, position the countertop and sink on top and secure with caulk. Silicone caulk is usually the best choice for bathroom use. Apply the same product where the counter meets the walls to prevent water from seeping behind the counter. Finally, install your bathroom sink faucet and the project is complete.


