![]()
Wooden cutting boards are gaining popularity for several compelling reasons. They are visually appealing and available in various shapes and sizes, each featuring unique grain patterns. As a seasoned woodworker with decades of experience, I’m often delighted by the appreciation people show when I gift them a cutting board. Why wouldn’t they love it? It’s a practical gift, serving a daily purpose in the kitchen.
Although there’s a trend among advanced woodworkers to create intricate cutting boards, simplicity is key for everyday use. Most cutting boards serve a utilitarian role in the kitchen, making a simple DIY cutting board ideal. With just a few straightforward steps, you can create a cutting board that is both functional and aesthetically pleasing. Many types of wood work well, such as maple, pine, birch, and even cherry and mahogany. However, avoid woods like oak and ash, which have an “open grain” that can trap food particles. “Closed-grain” woods don’t have this issue.
When comparing wooden cutting boards to plastic ones, plastic boards do have the advantage of being dishwasher-safe. Nevertheless, they lack aesthetic appeal, dull knives faster, and contrary to popular belief, studies show that plastic boards harbor bacteria more quickly than wooden ones. In my opinion, wooden cutting boards are the superior choice.
Building a Basic Cutting Board
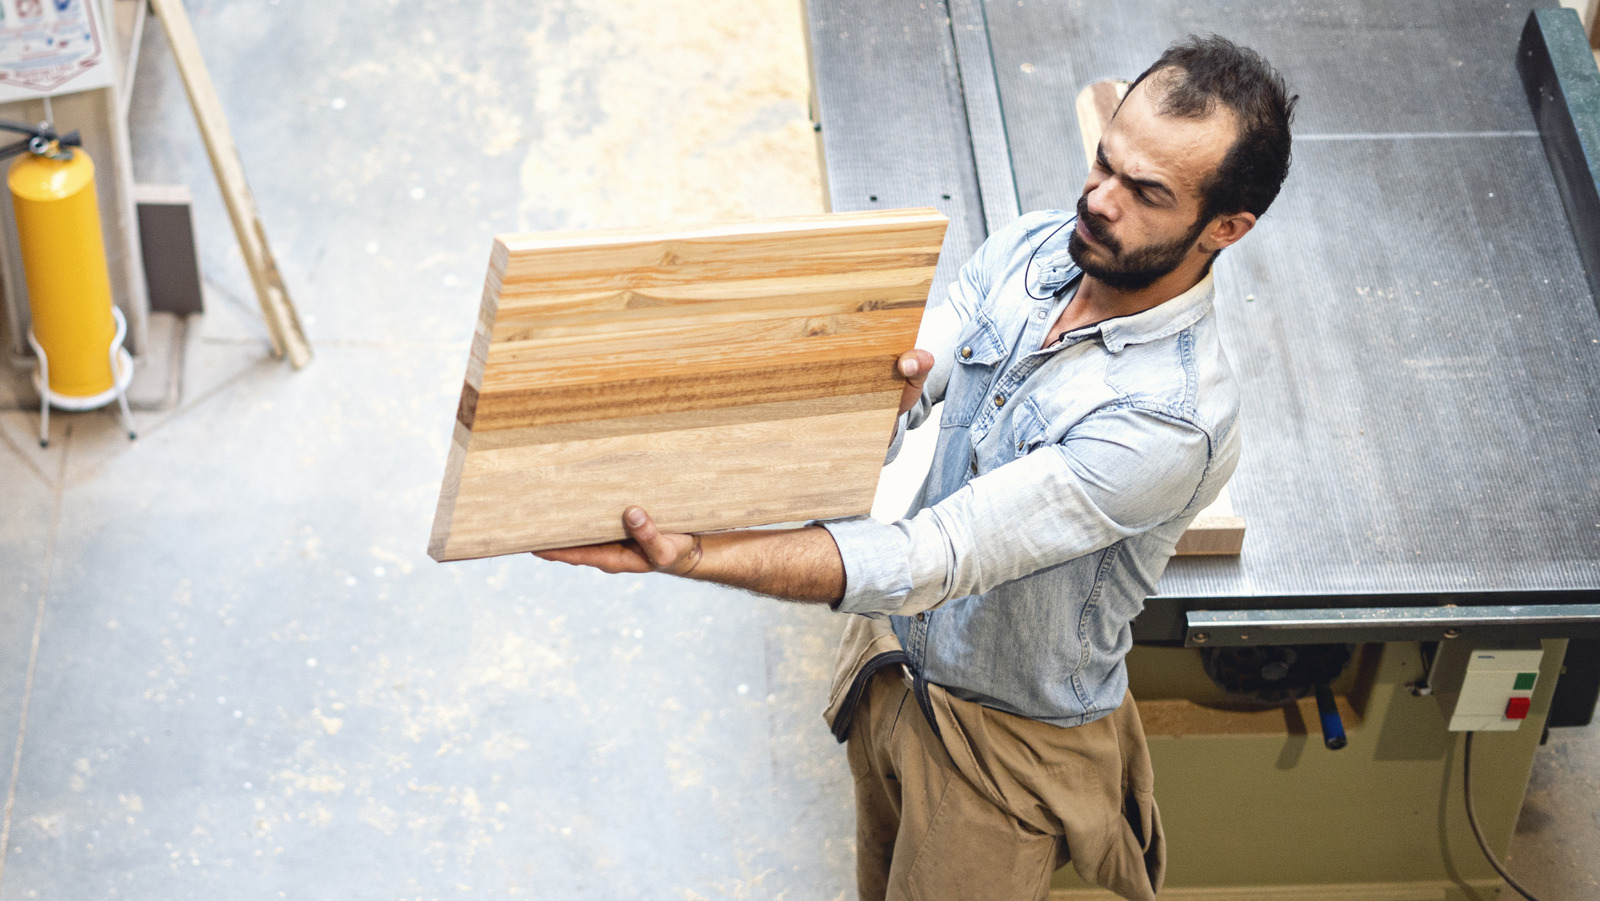
To craft this board, I used a quality pine 1 x 4. I sourced the finest wood from my local big box store and cut three pieces to approximately 14 inches in length. After aligning the pieces edge to edge to ensure they fit snugly along their entire length, any misalignment can be corrected by sanding the edges. Gluing the three boards together forms a balanced panel. Ensure the edges fit perfectly before proceeding with gluing.
Align the board edges precisely and apply a thin coat of water-resistant glue. Place them edge to edge and gently rub the glued parts back and forth. Clamp them together, ensuring they meet correctly across the glue-up. To achieve a strong glue joint, pressure across the board’s width is essential.
As a professional woodworker, I have an abundance of clamps. If you lack clamps, rubber bands large enough to encircle the glued boards, elastic cords, or stretchy tape can suffice. Aim for a flat panel with no misalignment. Allow the glue to cure for at least an hour, and scrape off the rubbery glue squeeze-out.
Shaping and Smoothing the Board
Once the glue has set, the boards will remain securely bonded. The next steps involve cutting the board to its final shape and sanding it smooth. You can square the ends for a rectangular shape, but I chose slightly curved ends for a custom look. Using a handheld jigsaw, I cut the arcs before sanding the surface and the ends simultaneously. I drew the arcs with a pencil and followed the lines to shape the ends.
If you own a power sander, use it; otherwise, hand sanding can be surprisingly efficient. Start with 60-grit sandpaper wrapped around a sanding block and sand across the panel. After leveling both faces and smoothing the ends, switch to 80-grit sandpaper and sand diagonally. Continue with 100-grit sandpaper in the opposite diagonal direction and then use 120-grit and 150-grit sandpaper, sanding with the grain to remove previous scratches. You now have a perfectly sanded board.
What Kind of Finish is Right for a Wood Cutting Board?
With the board sanded, it’s nearly complete. Historically, cutting boards were left unfinished, with natural oils from food creating a patina over time. Washing the boards with soap and water added a soap residue finish. Leaving the board unfinished is a valid option, but many prefer to apply a finish or sealant for enhanced appearance.
I recommend using mineral oil, a highly refined petroleum product that’s safe for consumption (though not recommended). Mineral oil seals the wood and simplifies cleaning. Refresh the finish regularly, as it wears off with use. Vegetable or nut oils, such as walnut, tung, canola, or olive oil, are also options, but they can become rancid. I prefer mineral oil for its longevity. Apply a couple of coats with a paper towel, focusing on the end grain, and let it sit for half an hour before wiping off excess.
Use and Maintenance After the Wooden Cutting Board is Complete
Occasional reapplication of oil is necessary. Just flood it on and wipe it off, regardless of the finish you choose. As mentioned earlier, I used pine lumber for this board. Pine is an excellent choice, though it’s a softwood and will show cutting marks over time. This is normal, but some might find it unsightly.
Since the board has two sides, consider using one side for cutting and the other for tasks like cooling cookies. Pine’s softness benefits your knives by keeping them sharp longer. If the surface becomes too marred, simply resand it for a fresh finish.
Wooden cutting boards are not only functional and hygienic but also make wonderful gifts. Once you master crafting a pine cutting board, consider experimenting with more visually appealing woods like walnut, cherry, or maple. You can create a board from a single wood type or combine them for a striking effect. Picture a walnut board flanked by cherry boards. Once sanded and finished with mineral oil, it becomes a practical and beautiful cutting board, far superior to a plastic one.

")

