![]()
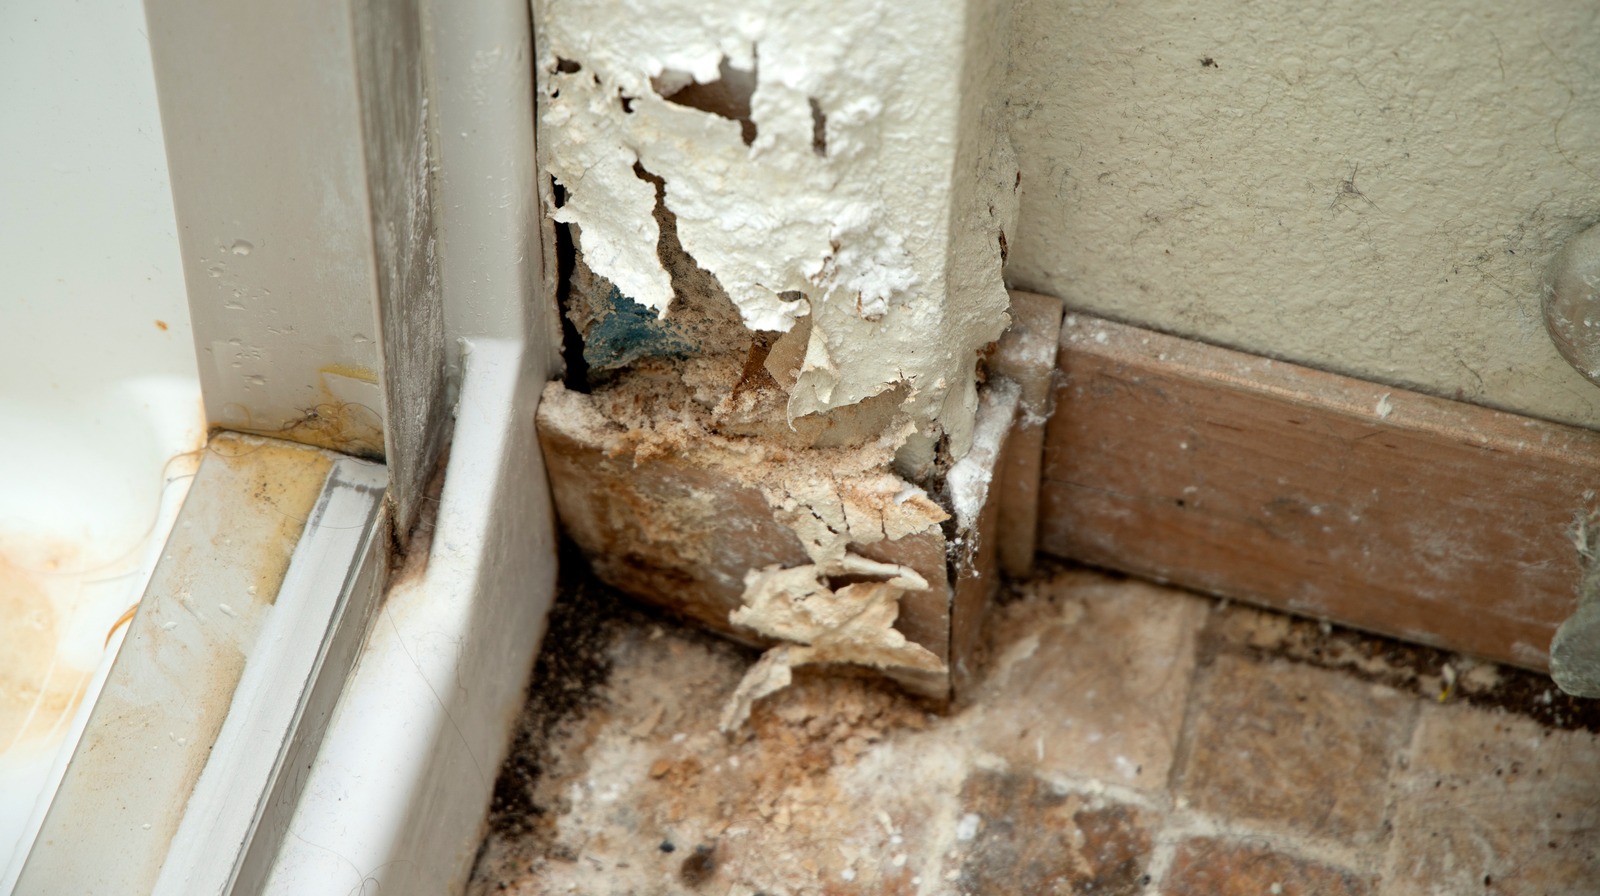
Featuring customizability, affordability, and fire resistance, drywall is a highly favored building material in modern homes. However, its primary vulnerability is water. While this isn’t typically an issue in most rooms, areas where walls meet bathtubs or showers can experience problems due to frequent splashing and high humidity. When drywall is exposed to water, it may soften, swell, warp, and become discolored, potentially fostering mold and mildew growth. Eventually, the affected drywall will require removal and replacement, but the process can be straightforward if you follow the correct steps. For minor water damage, a “plumber’s patch” can be an effective solution.
Typically, a drywall sheet consists of a gypsum core sandwiched between a face paper and a backing paper. A plumber’s patch involves trimming the drywall to size while retaining some paper around the edges. This paper overlaps with the existing wall, eliminating the need for drywall tape. Additionally, using a plumber’s patch negates the need for screws and wood backing, allowing for quicker, easier, and smoother results without locating a stud. This method is one of the best drywall repair hacks, saving time and money, especially when paired with quick-drying mud.
Make drywall repair easier with a plumber’s patch
To repair damaged drywall using a plumber’s patch, gather a pencil, measuring tape, utility knife, drywall, drywall mud, and a drywall taping knife. The size of the knife may vary based on the patch size, but a set like the Goldblatt Drywall Tools 5-Piece Knife Set should suffice. Wall texture spray and paint are also necessary for concealing the finished patch.
Using the utility knife, cut a rectangular hole approximately an inch beyond the damaged area. Leaving warped drywall undermines the repair and complicates seamless patch integration. Measure the hole and loosely cut your drywall, allowing about 2 inches of excess on all sides. Turn the drywall over and score lines on the back paper to the same size as the hole, minus about 1/8 inch for flexibility. After scoring, break and peel the gypsum away from the face paper, creating a drywall patch with a neat paper border.
Ensure the patch fits snugly, then generously apply drywall mud to the paper or wall around the hole. Place the patch and use the drywall knife to smooth and press the paper, spreading any excess mud outward. Be careful not to tear the paper. Finally, cover the entire patch with mud, let it dry, then sand, texture, and paint the wall.
A plumber’s patch isn’t the answer to all problems
While the plumber’s patch is effective for small unsightly spots, it is not a miracle solution or a long-term fix. The advantages of this method include its speed, ease, and minimal material requirements. However, a plain drywall plumber’s patch remains vulnerable to water damage. Consider using alternative materials to enhance water resistance.
If you plan to build or repair bathroom walls yourself, explore greenboard drywall and its applications. This specialized drywall is designed for moist environments, featuring a fiberglass or wax-coated facing material that resists moisture and mold. Additionally, there are paints and primers, such as KILZ Basement and Masonry Waterproofing Paint, that provide a waterproof finish.
Regardless of whether it’s a shower door gap or a leaky pipe, never ignore water splashing onto your walls, even with water-resistant drywall and paint. Eventually, you’ll need to address the root cause. If your wall has extensive water damage or mold growth, replacing the drywall might be necessary rather than merely repairing it.


