![]()
What goes around comes around — even linoleum floors. Once a hallmark of 1960s and ’70s homes, linoleum fell out of favor for many years. However, it’s making a comeback as an eco-friendly and budget-friendly substitute for vinyl floors. Installing linoleum flooring without professional help is quite manageable. You can achieve a flawless look by using the right techniques, such as allowing the linoleum to acclimate to your home.
Linoleum is crafted from linseed oil combined with other materials like resin, cork, wood flour, and mineral fillers, then pressed flat. While “linoleum” is sometimes used to describe similar-looking vinyl floors, the key difference is that vinyl is PVC-based, whereas linoleum is entirely natural and biodegradable. Linoleum is more cost-effective than wood or laminate, and you can install it yourself to save even more money.
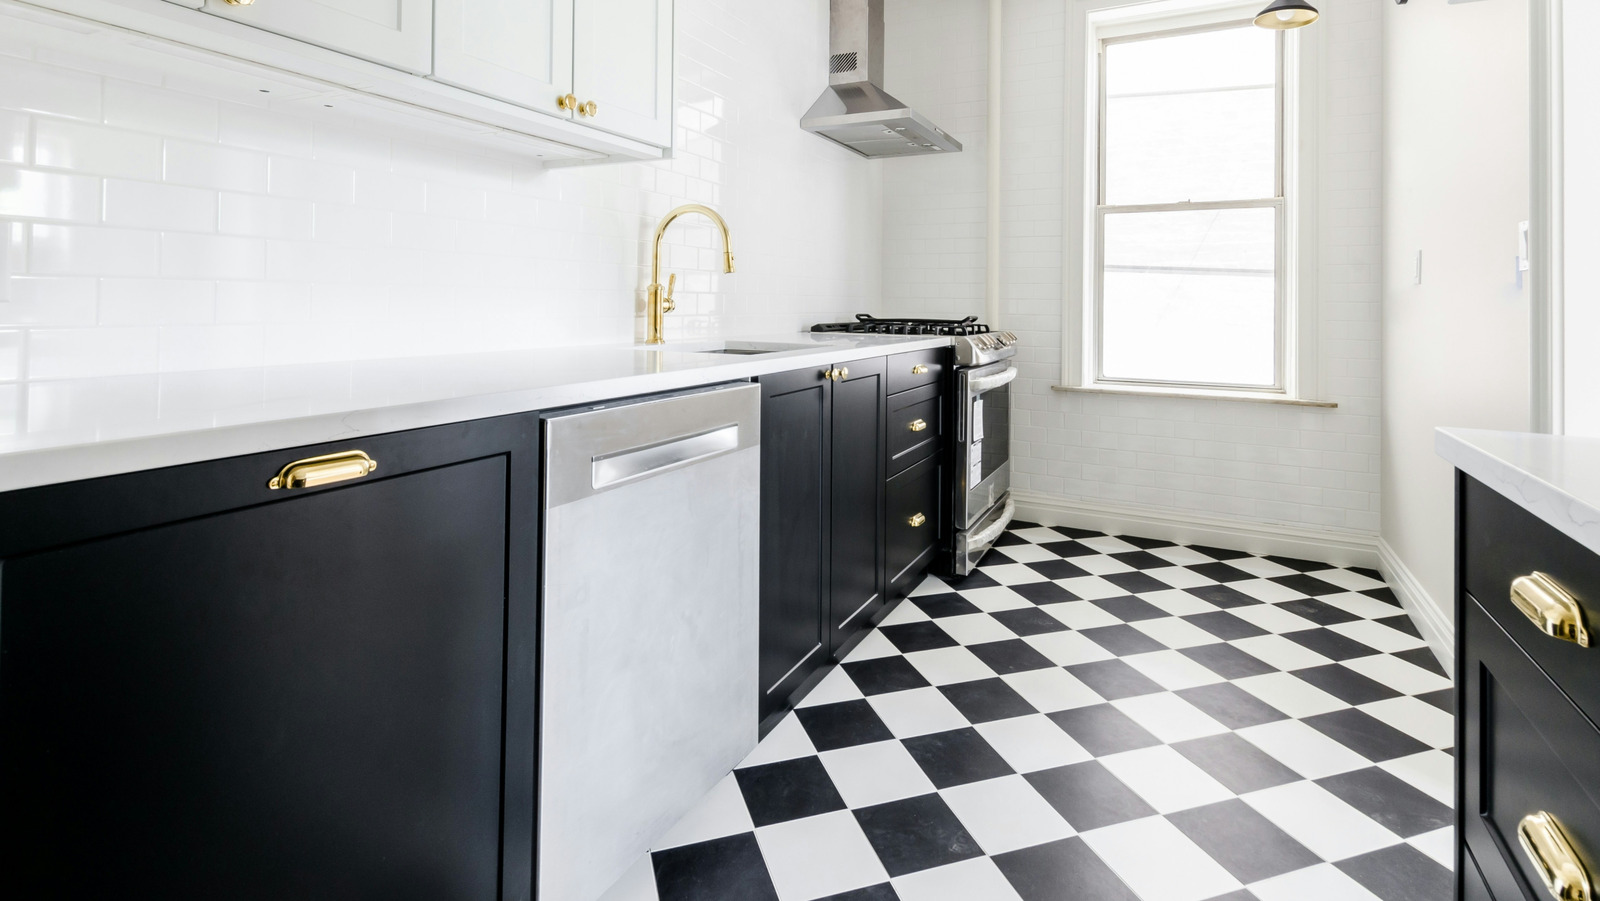
Linoleum is available in three forms: sheets, planks, and tiles. Tiles and planks are the easiest to install on your own, while sheets can be challenging to cut to size and might require professional help for optimal results. When embarking on a DIY linoleum installation, the keys to a seamless finish include patience, ensuring a smooth subfloor, careful cutting, and smoothing out the surface at the end. These tips will help prevent your linoleum floors from appearing uneven, saggy, or bumpy.
Key Pre-Installation Steps
Before installation, determine how much linoleum you need. Linoleum tiles typically come in 1-foot squares, though other sizes are available from certain brands. Some tiles are self-adhesive, some require additional adhesive, and some click into place. Linoleum also comes in planks, which are clickable, and sheets, which usually need added adhesive. Purchase enough linoleum for the room’s square footage, plus 10% to 20% extra for margin.
Once you bring the linoleum home, wait. Patience is crucial because linoleum should not be installed immediately since it can expand or contract with temperature changes. Your home is likely a different temperature than the warehouse where the linoleum originated. Allow up to two days for the material to adjust to its new environment.
During this waiting period, remove all furniture, appliances, fixtures, baseboards, nails, and existing flooring. Ensure the subfloor is smooth and level, addressing any holes or uneven areas. If the subfloor has imperfections, they will likely be visible through the linoleum, showing bumps or sags. If the subfloor isn’t repairable, add a foam or plywood underlayment before installing the linoleum. This is also a useful workaround if you want to cover wood or tile floors with linoleum without using glue.
Cutting and Gluing
Precise cuts are vital for an immaculate linoleum installation. While you can use a tape measure, another method is to use butcher paper or a similar material to visualize the necessary cuts. Lay the paper on the floor and trace the edges, creating a guide to replicate on the linoleum. When cutting, give yourself a few extra inches for errors; make final trims once the linoleum is in place using a sharp utility knife or linoleum knife. Leaving a small gap at the edges can accommodate further expansion.
If using tiles, adhesive application steps will vary by brand, so read instructions carefully. Regardless of the type, don’t apply adhesive until you’ve laid out the linoleum to confirm accurate measurements and fit. Patience is again key — apply adhesive in small sections, as it often dries quickly. Consider adding extra glue even with self-adhesive tiles to ensure secure attachment to the subfloor or underlayment.
Finishing Touches
Once the linoleum is glued down, use a weighted floor roller of at least 100 pounds, such as the Roberts Linoleum Floor Roller. Begin at the center and work outward. This step is crucial to eliminate wrinkles and air bubbles while securing the linoleum and adhesive. If you don’t own a floor roller, check your local tool library or rental center.
Next, apply a floor sealant to protect the linoleum from stains and moisture, adding a glossy finish. A coat or two of acrylic sealer is ideal. Pay special attention to sealing the seams to prevent peeling or moisture seepage. Prepare to be patient again, as the sealant must dry, and the glue needs at least 24 hours to cure before placing furniture and appliances. Walking on the linoleum too soon can cause bumps or deformations despite the rolling effort.
Finally, return everything to its place and enjoy your new linoleum floors. Maintaining linoleum flooring is simple: sweep and vacuum regularly, and mop with linoleum-friendly products like plain water and dish soap. Since linoleum isn’t waterproof, avoid letting water pool on the surface; dry immediately after mopping. Polish or wax monthly and aim to reseal the floors annually.


