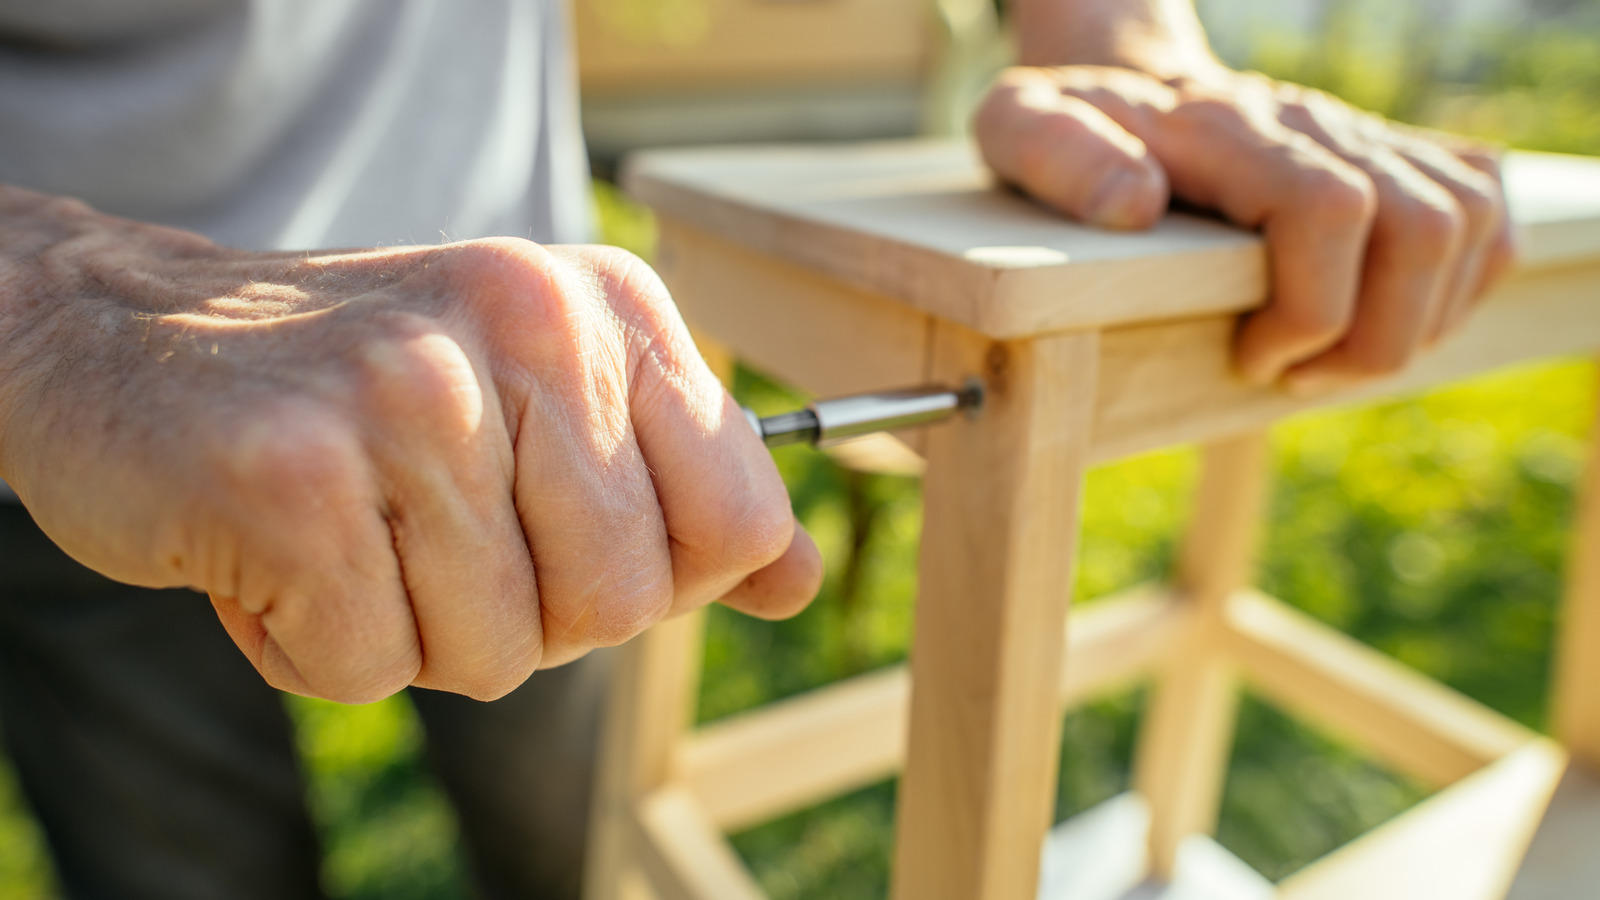
Whether you’ve just acquired a house with a spacious backyard, moved into an apartment featuring a balcony, or transformed your outdoor space into a stunning patio, you’re likely excited to furnish it and bask in its beauty. In your quest to enjoy the sunshine promptly, you might be tempted to purchase inexpensive wood patio furniture from a large retailer — but hold off on clicking that “add to cart” button! With some basic tools, you can create your own outdoor furniture, maximizing your investment. Furthermore, a DIY chair can be personalized to reflect your style and may offer more longevity. To craft a stunning outdoor chair, you’ll require a miter saw, a drill, screws, and your preferred wood material. Seat and back cushions are optional but highly recommended additions.
Cedar is a fantastic wood choice due to its natural resistance to weather and insects. While DIY outdoor chairs can differ greatly in design, for an easy yet attractive and sturdy build, consider using cedar 4-by-4s and cedar 2-by-4s. Here’s how to start building your patio chair, along with advice for personalizing and enhancing your design.
Measure and cut your wood pieces
Interestingly, selecting your cushions first can help you determine the correct dimensions for your chair seat and backrest. This step ensures that standard cushions will fit your chair. Otherwise, you might end up with a unique chair that requires custom cushions. Measure the length and width of your seat cushion to obtain the seat dimensions, then stack the back cushion atop the seat cushion to determine your backrest height. The height of the chair legs is entirely your choice. If you’re constructing chairs to accompany a table, a good guideline is to leave about 10 to 12 inches between the tabletop and the chair seat, including the cushion.
Once you’ve outlined the measurements, use a miter saw to cut all the chair components. A basic cedar chair requires two side frames and slats for the seat and backrest. The side frames consist of one 4-by-4 front leg, one 4-by-4 back leg, and a 4-by-4 “armrest” connecting the two legs. You’ll also need a 2-by-4 seat support bar that will attach to the legs just below the armrest. Additionally, cut seat slats and back slats to span between the side frames. For an angled chair design like that of YouTuber Shara McCuiston, cut the armrest so the back legs sit at a 20-degree angle and trim the ends of the seat support bar so the seat slopes slightly backward. A gentle slope enhances comfort and prevents rainwater from pooling.
Assembling the chair
Before assembly, consider sanding the pieces and applying a sealing coat; doing so after construction can be challenging. Begin by assembling the two side frames. For more secure and seamless results, drill 3.5-inch pocket holes through the 4-by-4 cedar pieces and use 4-inch pocket screws. Regular 2.5-inch pocket hole screws can be employed for the thinner seat support pieces.
Once completed, stand up your side frames and start adding the seat slats and back slats at evenly spaced intervals. Alternatively, you may choose a solid plywood back if preferred. For the back and seat slats, which don’t require pocket holes, it’s still advisable to pre-drill the holes before screwing. Wood splitting is a common issue when working with red cedar. In addition to pre-drilling, consider dipping your screws in paste wax, a clever TikTok trick to prevent wood splitting in home improvement projects. If your chair is slightly unbalanced when finished, use a product like Tahikem Adjustable Leveling Feet to stabilize it.
Is all the effort really worth it?
When all is said and done, you should have a stunning cedar patio chair ready to grace your outdoor space. The satisfaction of crafting a DIY furniture piece can be rewarding, but how does this chair measure up against big-box alternatives? Is it more cost-effective or durable? To break it down, a 4-by-4-by-8 cedar post from Lowe’s costs approximately $41, and a 2-by-4-by-8 cedar board is about $17. To construct a chair measuring 32 inches in height, depth, and width with eight 24-inch slats for the back and seat, you would need about two 4-by-4s and three 2-by-4s. The total cost would be around $131, excluding other materials like screws or sealer. In comparison, a similar-looking solid cedar chair from Wayfair might cost around $233.
Of course, more economical furniture options exist, such as the SoliWood Oversize Wooden Folding Adirondack, but if longevity is your goal, DIY is sometimes the best route. This DIY wooden outdoor chair provides a more luxurious appearance than typical big-box furniture made from cheaper, thinner wood. By choosing to build it yourself, you can also adjust the dimensions for increased comfort or accessibility. By simply widening the seat and backrest by a few feet, you can even construct a matching sofa. Remove the backrest, and you’ve got a table or bench to complete your custom furniture set. Now, all you need is a screened-in patio build for a DIY dream come true.


